
 |
|
|
|
|
|
#1 |
|
Dragon
 Join Date: Apr 2010
Posts: 2,358
|
Hello all, i'd like to share a practice that i have. Whenever i purchase/ receive/ find old or second hand tank sets. The stands are either rusty or are not in the best of condition most times. So i always give the stands a fresh coat of paint before using them. Through this practice, i try improve the look of the stands on top of just giving them a base coat. So let me share a method that will give your iron stand a "wrought-iron" look even though it may just be a plain old iron stand.
Here's what you need... To give your stand a fresh even coat of a base paint (i've used black for mine): 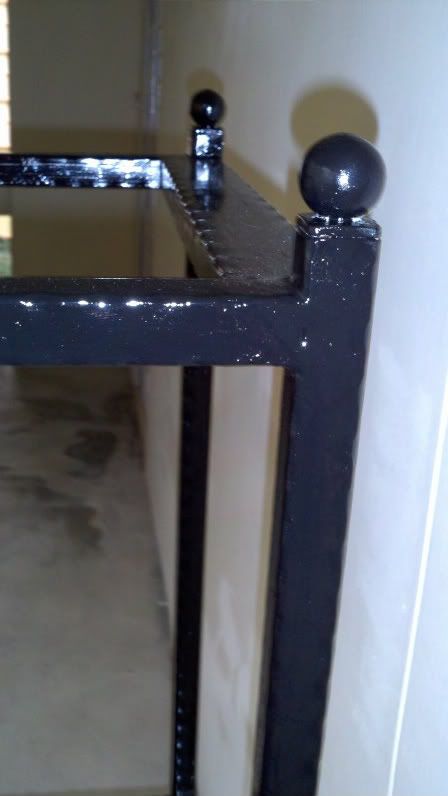 Then you'll need a dry rough scrub (i got mine for 80cents at ABC value shop. Each stack has 30pcs! Enough for you to use them on your dishes after this project!): 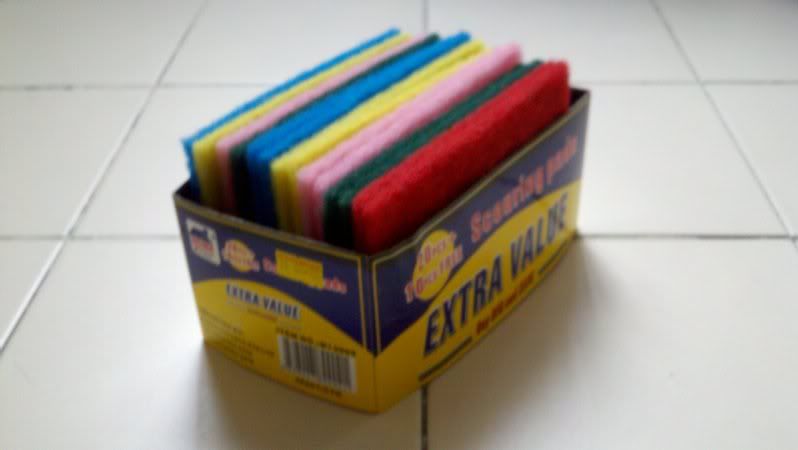 Purchase a small tin of gold paint (i got mine for $3+ from a normal hardware shop. Do take note that most hardware shops carry another variant that is much more expensive): 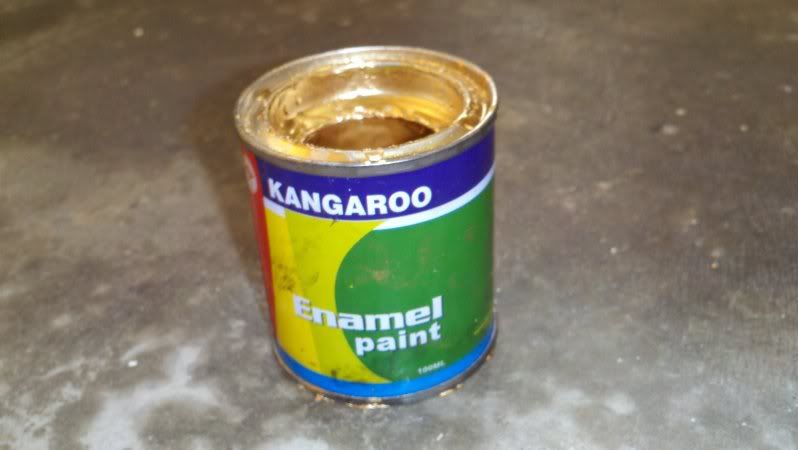 Next use a chop stick to dip into the paint and give one end of your sponge a VERY light coat of gold paint (too much and you will create thick undefined blotches of paint marks for your wrought iron design): 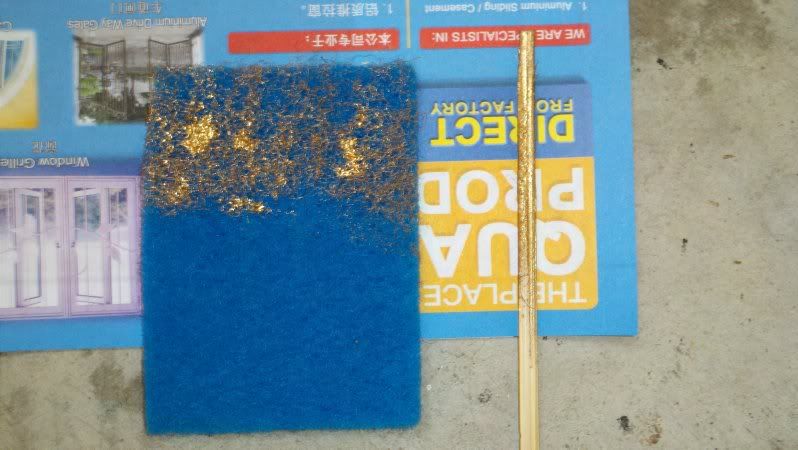 Apply the gold paint at an angle ( about 45degrees for me) and very lightly swipe the sponge against the iron stand, creating a design like this: 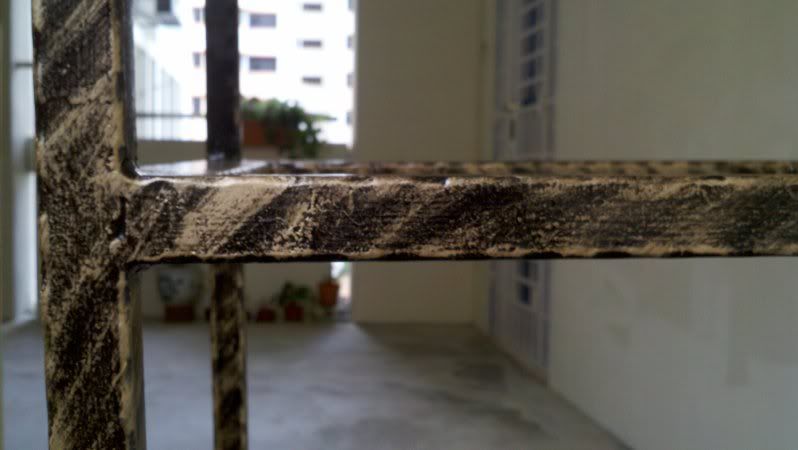 Here's a picture to show how the progress of your "new" wrought iron stand should look like ( bottom half completed, progressing upwards) : 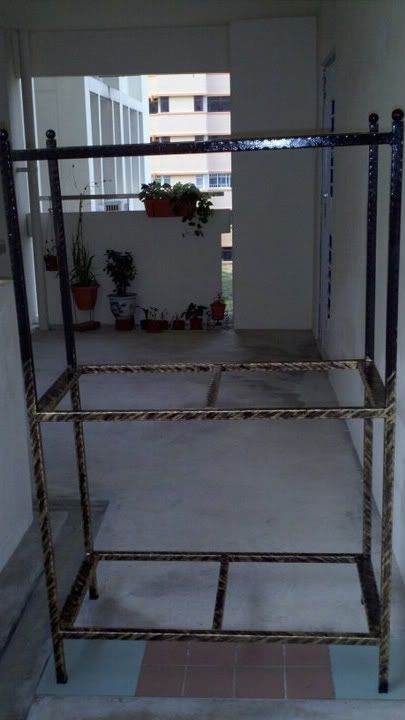 Now, if your lucky the rubber base on your stand's legs will be in good condition and not worn out like this:  If it is, all you have to do is purchase rubber stoppers from your nearest hardware shop and simply fit it in on each leg! (be sure to trim the sides of the existing rubber base that protrudes out first for a better fit): 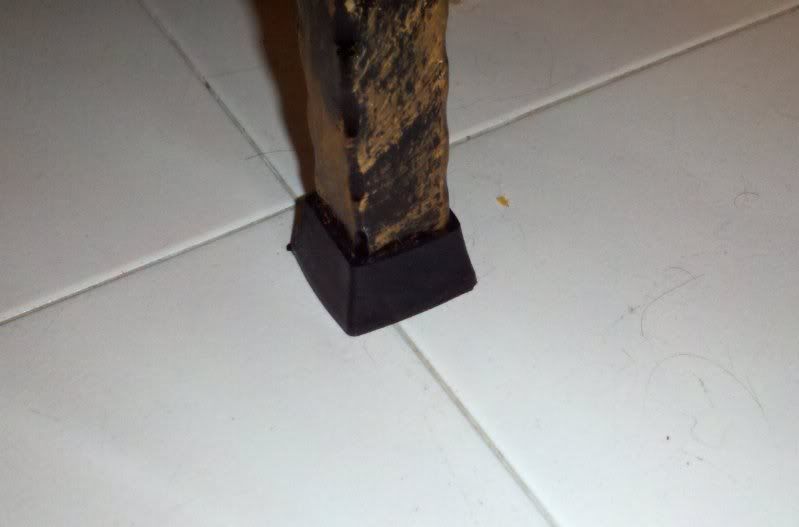 Your final product : 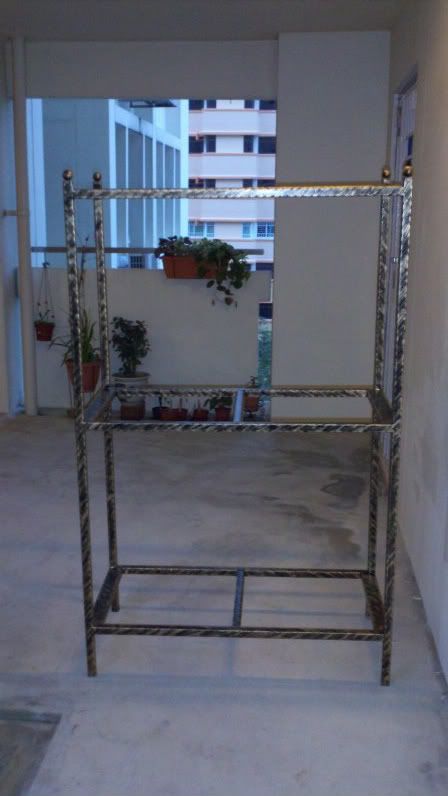  So the next time you walk past a tank set that looks like it doesn't belong in your nice and lovely home– Make sure to reconsider! Total items bought: Black paint, gold paint, sponge, rubber stoppers, paint brush. Total cost: About $13 Cheers everyone! Thanks for viewing! |
|
|

|
|
|
#2 |
|
Guest
Posts: n/a
|
Haha, good job bro. Looks like the real thing if I didnt know it was a DIY!
|

|
|
|
#3 |
|
Senior Dragon
 Join Date: Jul 2005
Posts: 3,042
|
good job! looks good
 hahaha hahaha
|
|
|

|
|
|
#4 |
|
Guest
Posts: n/a
|
looking really good. well done TS
|

|
|
|
#5 |
|
Arofanatic
    Join Date: Feb 2004
Posts: 430
|
great job done by TS and thanks 4 sharing.
|
|
|

|
|
|
#6 |
|
Dragon
     Join Date: Mar 2010
Posts: 1,335
|
Well done bro,next time can copy from u liao

|
|
|

|
|
|
#7 |
|
Dragon
 Join Date: Aug 2009
Posts: 2,959
|
You made the stand look almost new..
Thanks for sharing the idea.. Cheers mate..!! |
|
|

|
|
|
#8 |
|
Dragon
 Join Date: Apr 2010
Posts: 2,358
|
|
|
|

|
 |
| Currently Active Users Viewing This Thread: 1 (0 members and 1 guests) | |
|
|