
 |
|
|
|
#1 |
|
Dragon
    Join Date: Jun 2010
Posts: 503
|
I would like to share this project with this forum and also to look for pointers and improvement on it. This is my very first time on DIY and this project might seem very amateurish or even , nonsensical to some of you here. For that I apologize and I look forward to sharing and learning more from every one.
 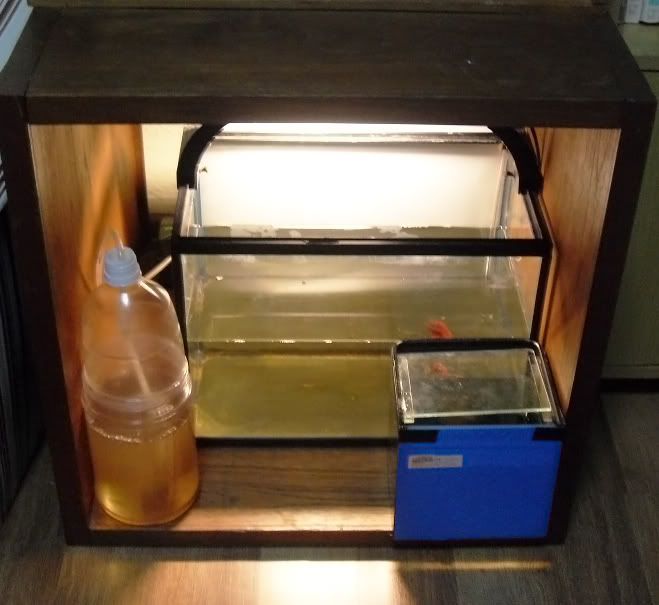 The project is on this wooden cube box that I've gotten from my mum's shop.Its been used by me as a tank stand for my 2ft tank on top of it and in the inside of it as you can see in the picture its used for breeding bettas. The breeding tank was retired and soon, the space inside the box was used to store my fish keeping clutter.Due to my lack of tidiness, the clutter was soon unsightly to me, and to my mum(one major reason why I brought myself to do this project) Thus, I decided to do something about it , and the concept that I thought of, was to hide everything away from sight. My brain was storming for days to come out with ideas for doing that . Initially I thought of installing mini cafe curtains or even mini blinds on the opening of the box but the thickness of the wood is just too thin and not suitable for drilling deep enough to be able to support the weight of the latter. Its during the midst of my brain storming that i chance upon a thread on this forum, of this bro setting up his 6 ft tank . (I can't seem to find the thread ). He was using the plastic boards that I used for carding my bettas to cover up the sides of this tank stand. I thought it was a brilliant idea !  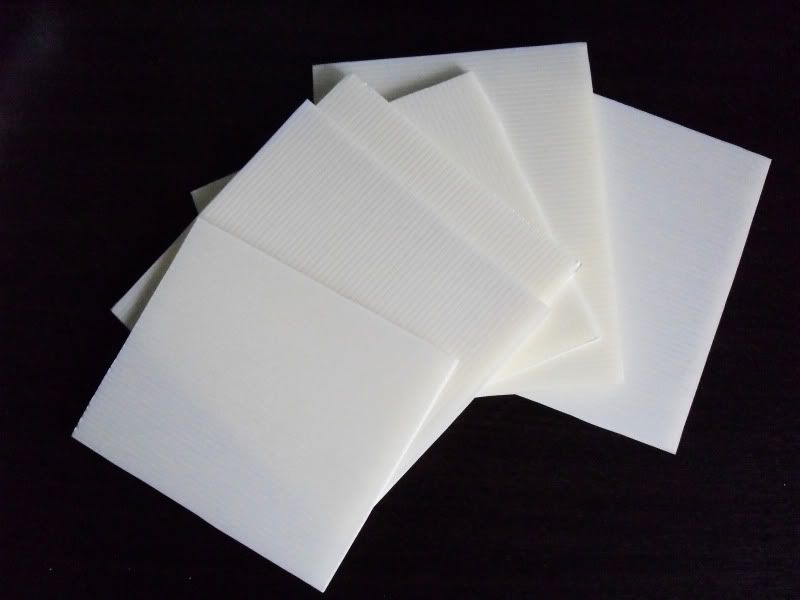 Inspired,I decided to use the same material to make a cup board door for my box. I began by cutting up the remnants of the card board I have on hand to two fitting rectangles . The fact that I couldn't install the hinges using screws was a big problem that stumped me for awhile. My girlfriend bimbotically suggested for me to use glue to just glue everything up . Which, I thought was bimbotic, however, I decided to give it a go and went to purchase my hinges and also selleys super glue and some foam double side tape from 3M. Initially it was hard to set the glue as the surfaces of the hinges and the cardboard was rather smooth. For that, I used the sand paper to roughen things up on the surface. That actually solved the problem. 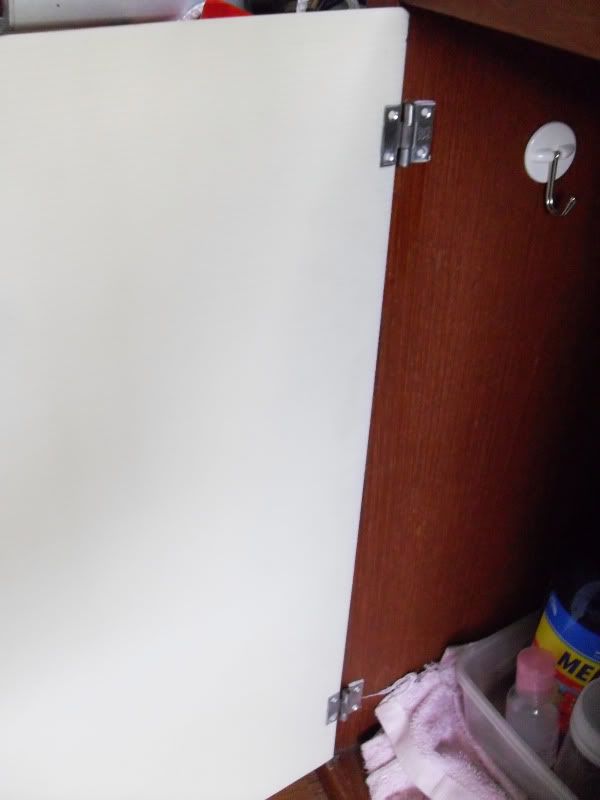 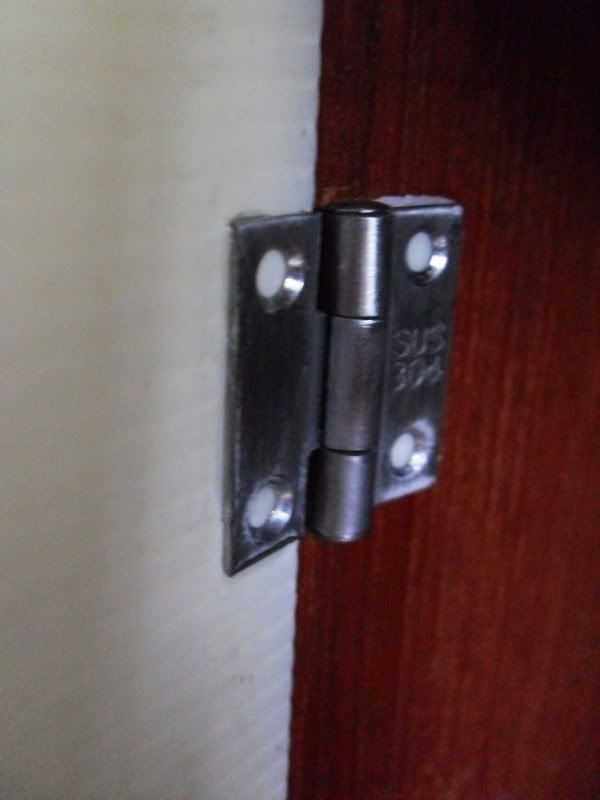 I stuck the hinges onto the cupboard first and use the foam double side tape on the side where the wood came into contact with the hinges. The reason for doing this was because the wood's surface was rather uneven(holes from the wood grain) and its hard to set the glue in. Super glue was used on the double side tape for extra stickiness.  After installing the 'doors' , I decided to install a couple of knobs onto it to act as handles. These are actually plucked out from an old ward drobe that was thrown away  This is a little side track from the cover project but i decided to install some hooks inside to hang up some of my clutter. 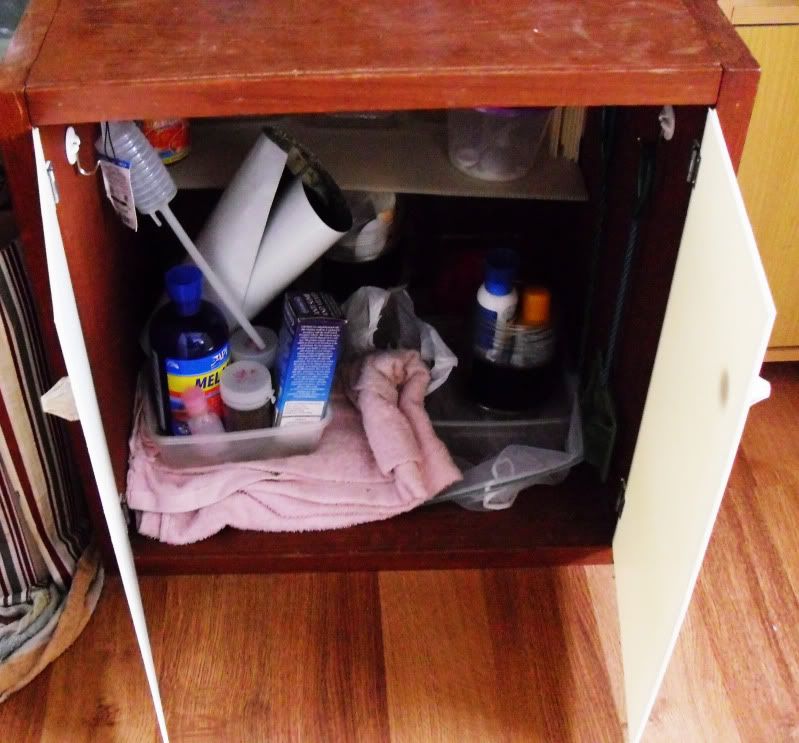 Still clutter-ful on the inside. 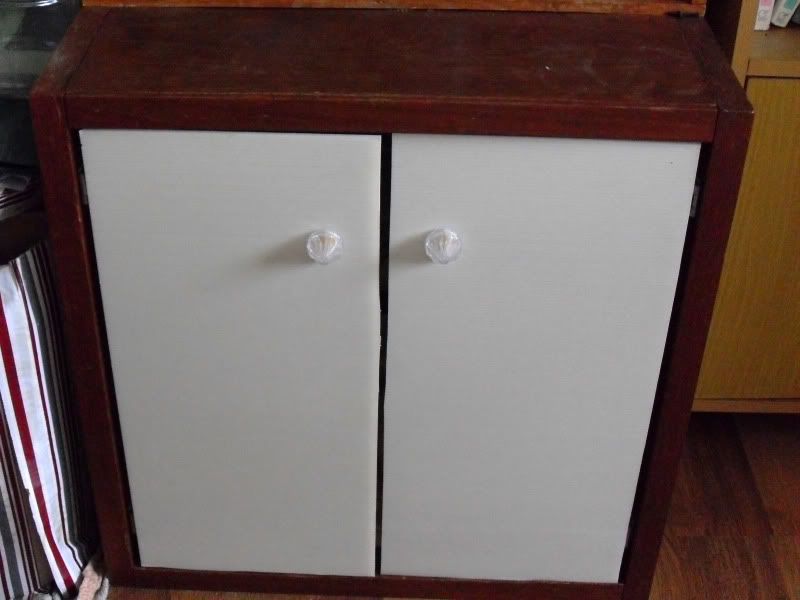 The end state looks like this. Not the best , aesthetically and one of the biggest flaw was the gap in the middle due to some miscalculations in the measurement. That lead to me realising the cons of using super glue, you got to get things right at the first try.. Hope you enjoyed my little write up.Have a pleasant day ahead! Jucino |
|
|

|
|
|
#2 |
|
Guest
Posts: n/a
|
Nice try. =) I see other people are just buying a piece of cloth to cover the box or stand like curtain.
|

|
|
|
#3 |
|
Dragon
    Join Date: Jun 2010
Posts: 503
|
|
|
|

|
|
|
#4 |
|
Guest
Posts: n/a
|
You can use another thin strip of other colour,or any material, to glue at the gap between the door,over lapping it.
Good piece of work. |

|
|
|
#5 |
|
Guest
Posts: n/a
|
That's the epitome of DIY and recycling! I'm truly impressed...
|

|
|
|
#6 |
|
Guest
Posts: n/a
|
Great to see your DIY and making use of whatever you have at hand. Keep it up!
|

|
|
|
#7 |
|
Endangered Dragon
 Join Date: Jan 2009
Posts: 5,133
|
Nice DIY, perhaps another color for the knob to make it obvious. The door gap is slightly uneven.
Good effort n time well-spent. |
|
|

|
|
|
#8 |
|
Dragon
     Join Date: Dec 2006
Posts: 1,674
|
looks nice n neat. to close gap easy, cut a thin strip and stick to either door on the inside. however, u have to be sure always open door 1side b4 the side with the extra strip.
|
|
|

|
|
|
#9 |
|
Guest
Posts: n/a
|
Wow, neat and tidy. Thanks for sharing.
|

|
|
|
#10 |
|
Guest
Posts: n/a
|
Thanks for sharing
|

|
 |
|
| Currently Active Users Viewing This Thread: 1 (0 members and 1 guests) | |
|
|